My 1982 Honda Nighthawk Build

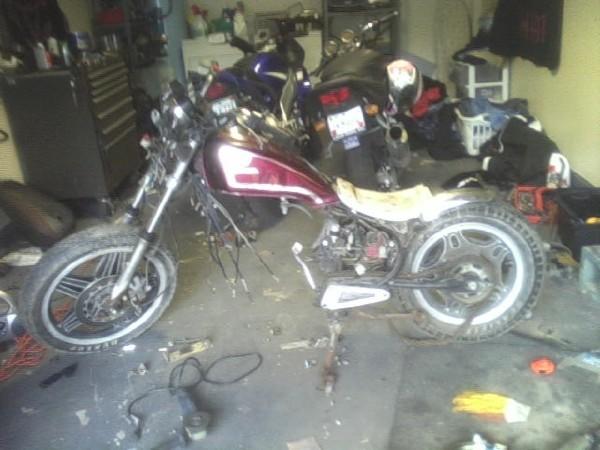
This isn't mine as I didn't take before pics, but is a good representation of the color and shape mine was in when I bought it. (if it's your bike, I'm just "borrowing" it)
The 1st bike I got for a trade from my buddy who's helping me build it. Cost me a bluetooth earpiece I got from the ex and something else I can't remember. He got it for free from a coworker who wanted him to fix it up, then gave it to him when my buddy quoted him prices for parts. It ran, but the tires were flat, gas tank was from a different year/make/model of Honda and full of holes and dents (and ended up in the trash), and didn't have a title. But, it ran and was pretty much complete minus the master cylinder and other minor things.
The 2nd bike I bought from the junkyard was actually in better shape than that picture. It was complete and aside from the tires, in much better shape. The junkyard wanted $300 for it complete, or $150 without the engine. Well, they didn't have a mechanic on hand and were closing in an hour, so my buddy and I dropped the motor with their tools in about 45 minutes :). So now I had a frame with a title, a stock gas tank, and extra parts galore.
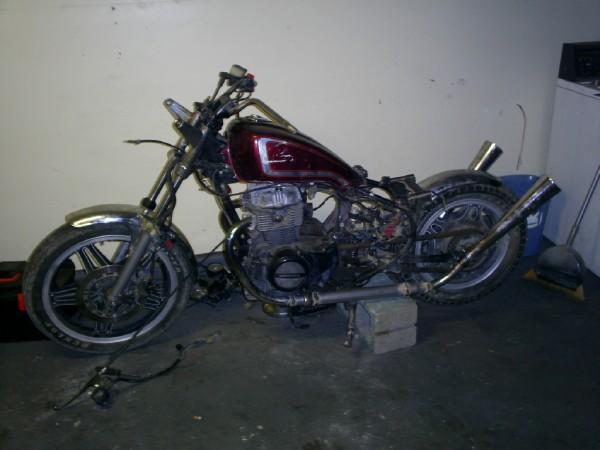
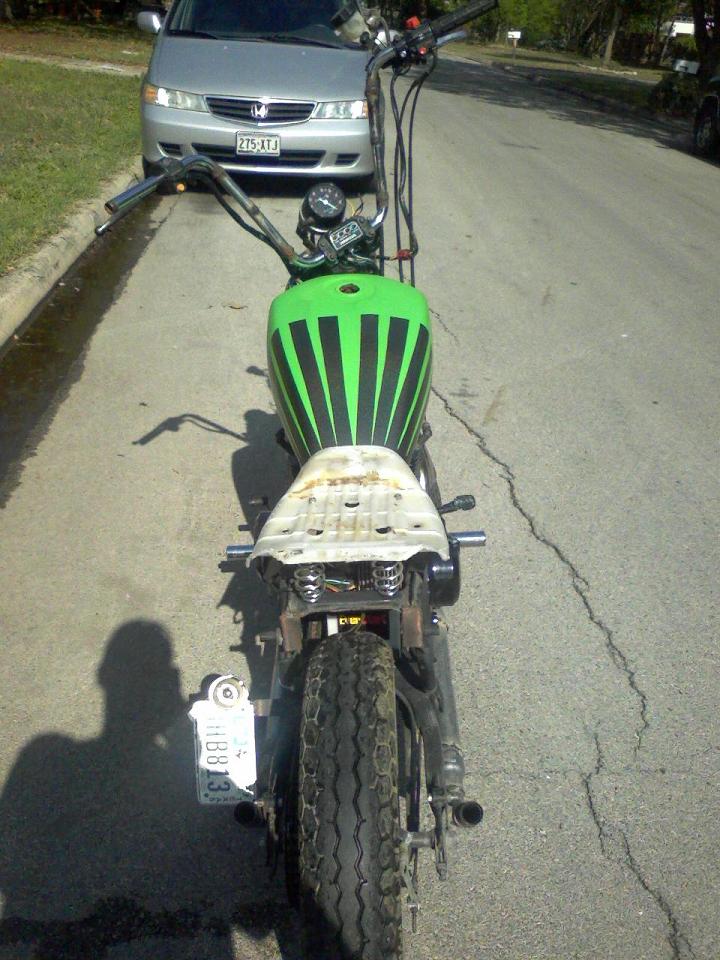
Got the junkyard bike back to my buddy's garage and started working on it. I knew I wanted a bobber, so I started stripping and cutting away. Took off all the plastics, cut down the frame, used a hammer to bust up and remove the air box, and took off the shocks. Ripped the cracked covering off the seat, and ripped all the old rust colored nasty foam off the seat. Once I got to the plastic seat pan, I realized I could do some more cutting. The front of that seat looked like it could make a great solo seat. I love the look of a spring mounted solo seat on bobbers! So, a bunch of plastic dust and a melted plastic grinder disk later, I had a solo seat. Below is the fruit of my labors:
Notice the bent brake lever. That's what happens when you put a bike into the back of a SUV and ya have to force it in cause something is caught on the carpet and ya just don't feel like messing with it.
So, got a good start on it now. I knew I wanted a hard tail, so this is where lady luck gave us a hand. Found out that with the shocks off and the rear end cut off, the frame actually sat on top of the swing arm. Tire was only a few inches from the "seat pan" part of the frame where I cut the back off, but hey, it's a hard tail. Not like it's gonna move right? Well, as it turned out, there was 6 (plus or minus) inches where the frame sat inside the swing arm. Figured out if we welded the top and bottom of the frame and swing arm together there, we didn't need struts! Added a flat piece of steel (cut from brown bed frame) over top of both welds, and welded that in place too to reinforce it. Now I got a hard tail!
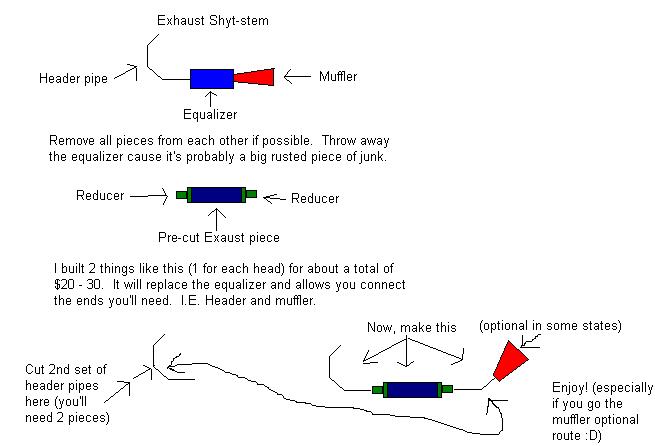
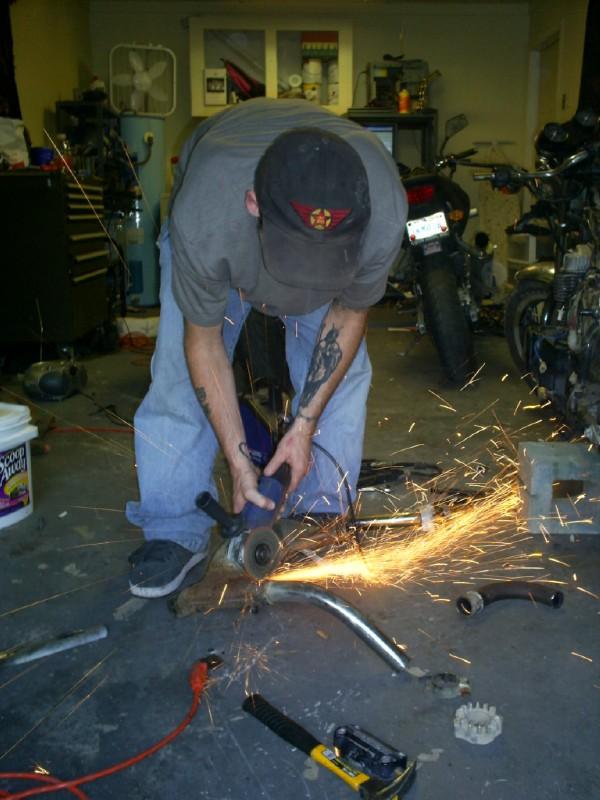
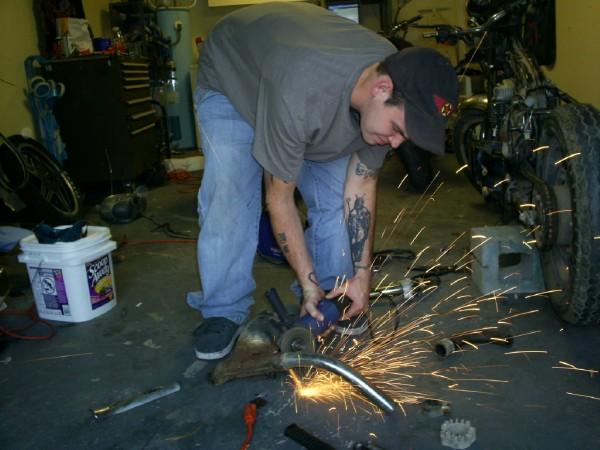
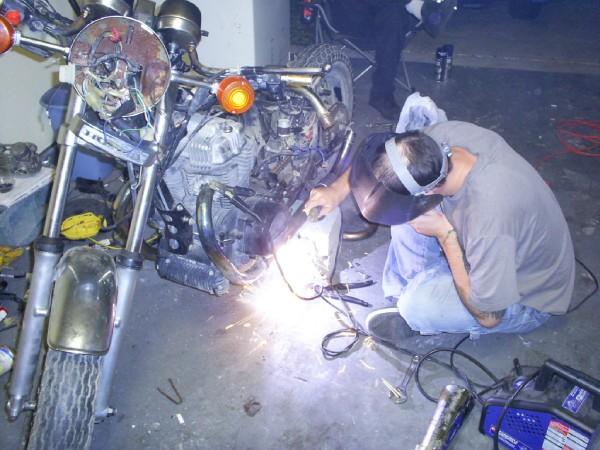
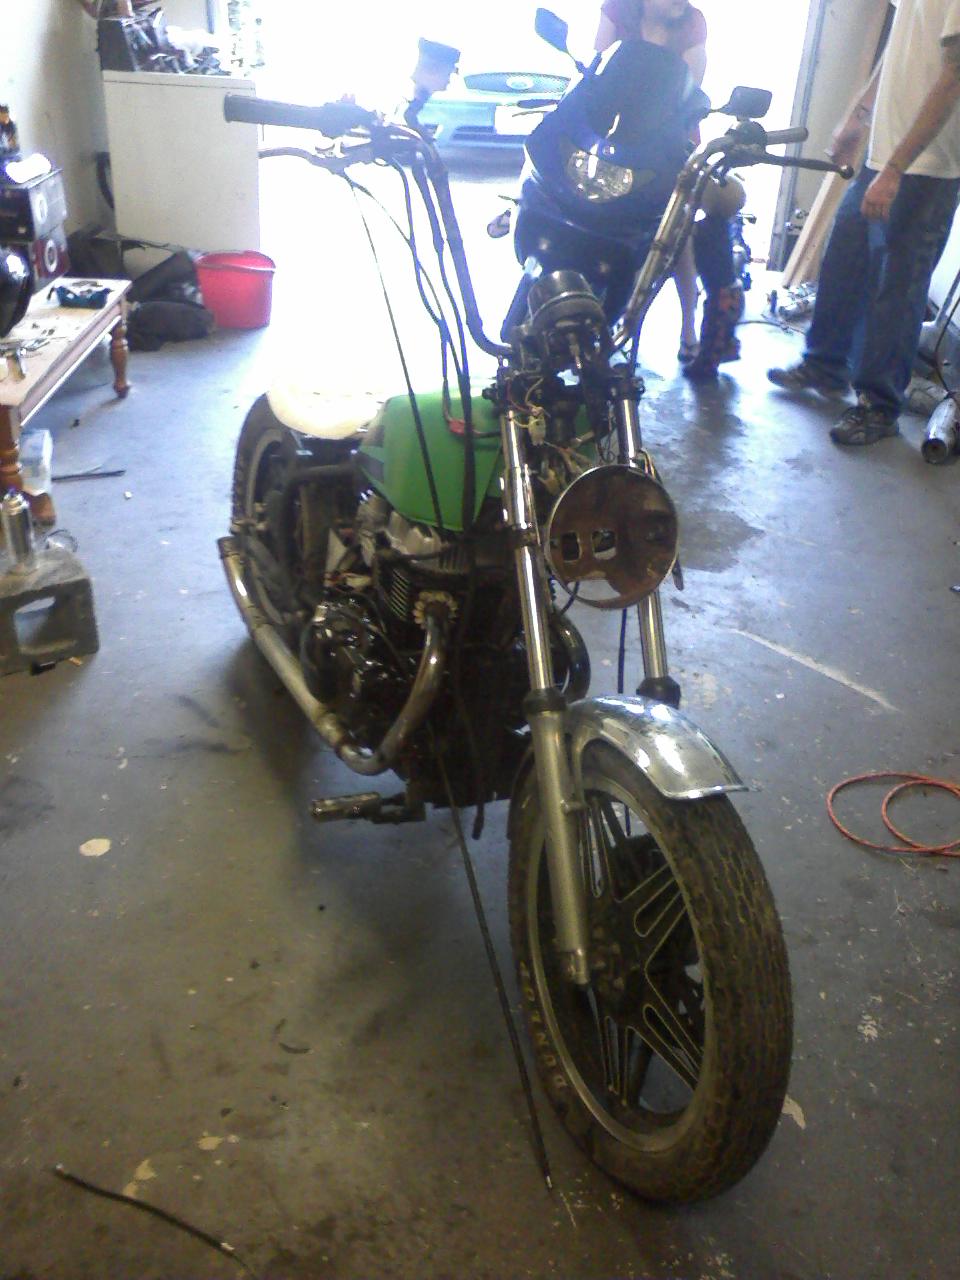
Got the engine from bike 1 installed into my newly modified frame. Next came the exhaust. Looking back, I can't remember why, but we'd convinced the junkyard to let us have the exhaust off the motor we'd removed. But as it turned out, it was for the best. I'll explain why in a moment. Now, with the frame modified, the bike sat a LOT lower than it did stock. The exhaust system had this thing called an equalizer. Big massive thing that sits under the frame. Well, with the new lowered frame, it just wasn't going to fit. First speedbump would give my bike a much deeper sound lol. It's a "5" piece system, 2 head pipes, the equalizer and 2 mufflers. The mufflers came more or less right off both equalizers with a little elbow grease. The head pipes on 1 of em came off the same, along with 1 head pipe on the other. Well, wouldn't ya know, 1 headpipe was rusted in place as tight as could be. Last resort, since the head pipe fit inside the equalizer, cut off the outer edge of the equalizer :D. Here's my buddy getting some grindage:
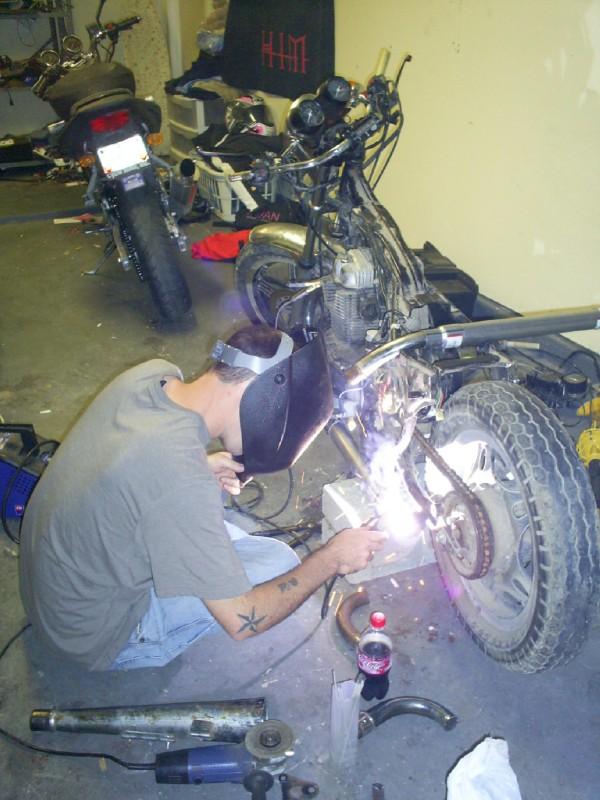
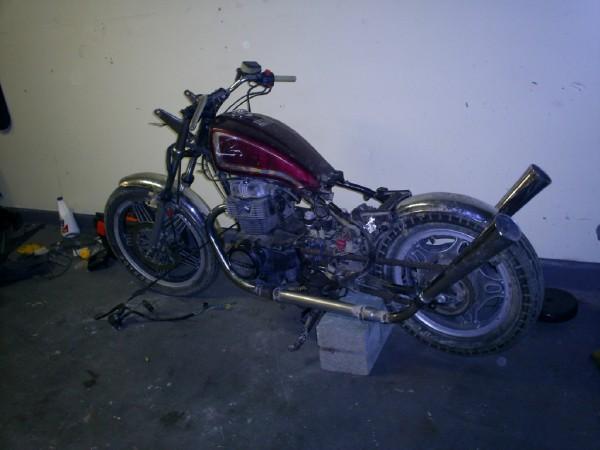
Now we have a dismantled exhaust system. Well, we got the 2 head pipes mounted and try to figure out where to go from there. Figured out that we could mount the 2 extra head pipes by the back wheel and, with the curve of the head pipe, we now have an exhaust that has a really nice angle to it. Just needed pipe to connect the two head pieces together. Found that at Autozone for about $20 total for all the pieces. Here's my buddy welding it up after we had it how we wanted it:

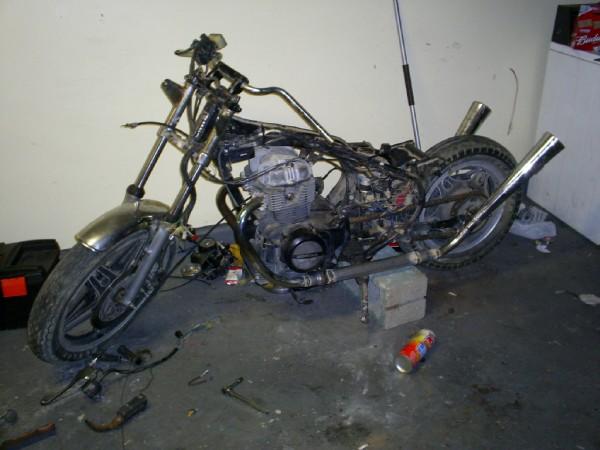
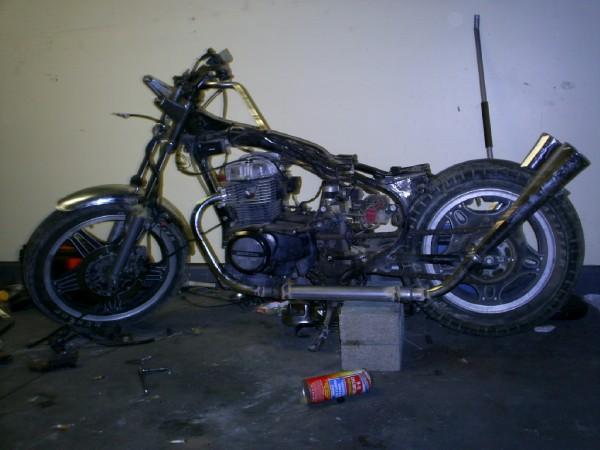
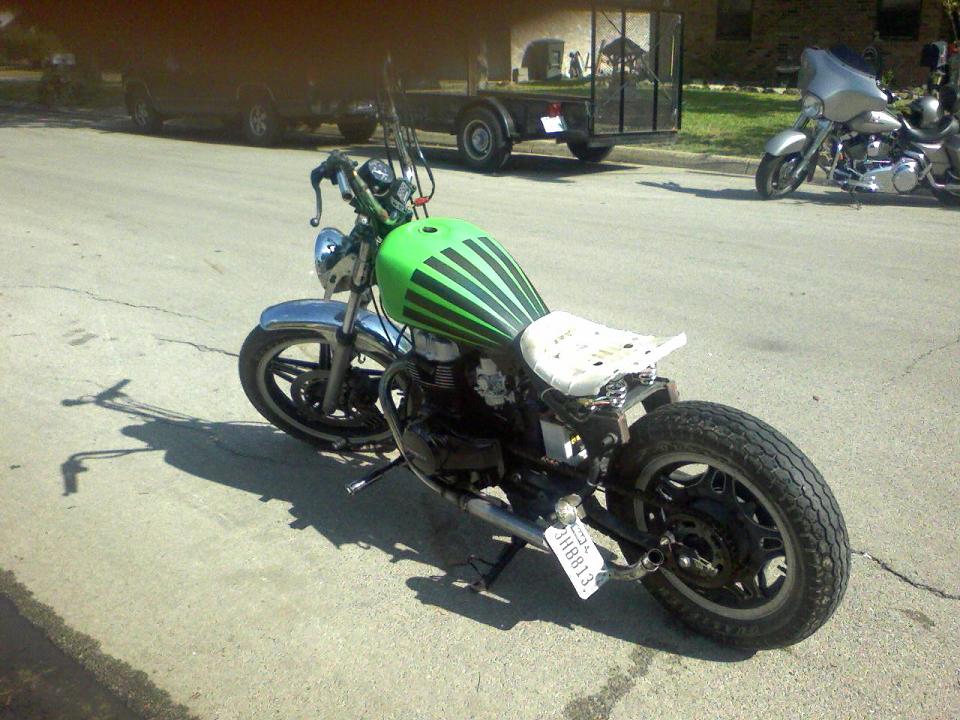
So with the welding done, and the exhaust ending right about where the sprocket was, it looked too short to me. Here's what it looked like with the original mufflers sittin on the rear head pipes. Haven't decided if that's how I'm going to keep it or not yet though. Haven't put em back on there but maybe once or twice since then cause my buddy hates the look of it lol. See how high the back tire is off the ground with our "hardtail" in place? lol The bike is sooooo low!
Wanted to see how it sounded with the new exhaust, so here's how that came out :)
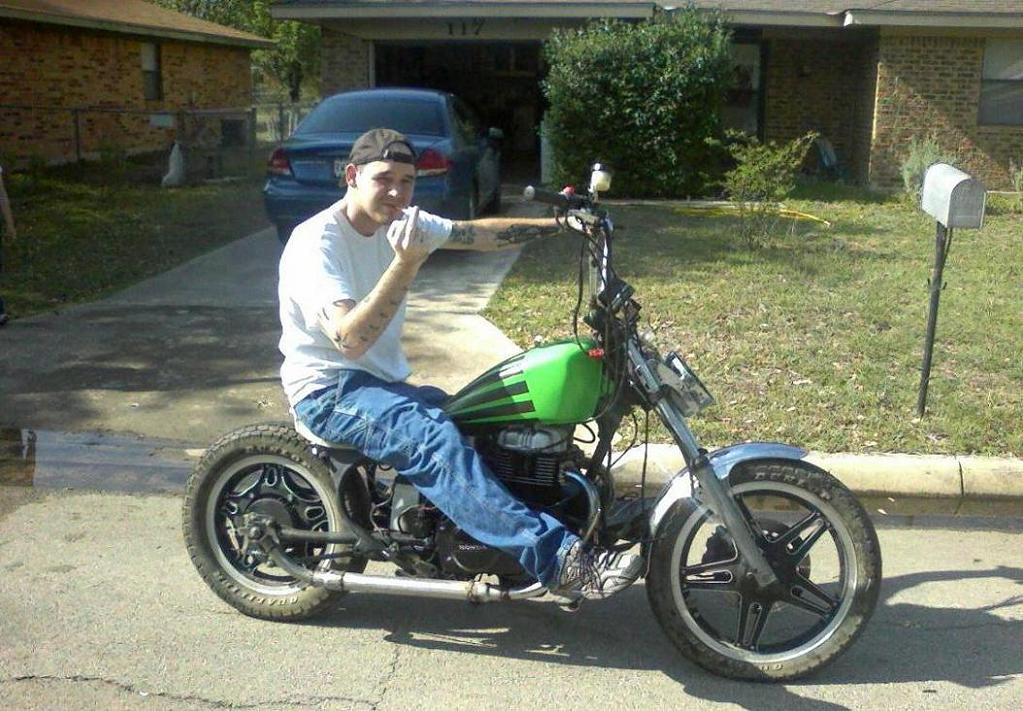
You can tell in some of those pics we were playing around with a rear fender. These bikes only came with one metal fender, and it was the front one. The back was built into the rear seat section, so that wouldn't work. So we cut the long mounting tabs off the other bike's front fender, and are still to this day goofing around with ideas on it. Here's me sitting on it afterwards:
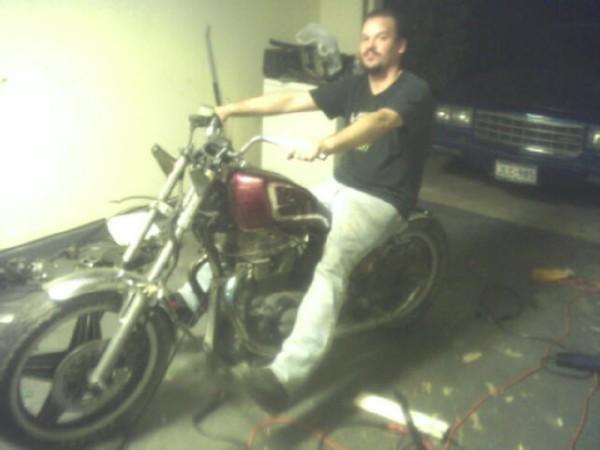
In that pic you can see we added footpegs that weren't in other pics. You can even see our homemade contraption to hold the footpegs. All it took to make that was two pieces of brown bedframe welded down the middle to make a solid U shaped piece. Then we drilled a hole all the way through it for the round bar. Then, we welded it to the front bottom motor mount bracket, and then slid the round bar through, and tacked it in place. We eventually made some mounts for a shifter and rear brake out of the rear peg set brackets, but they weren't very reliable, so we went with something completely different. We're still using the bedframe and roundbar with BMX pegs to put yer feet on. I'll try to get more pics of those later.
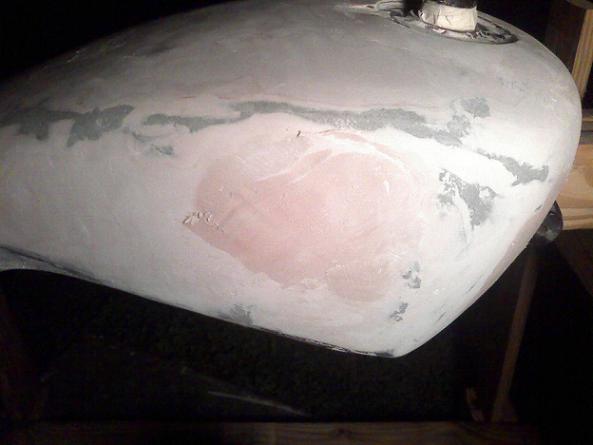
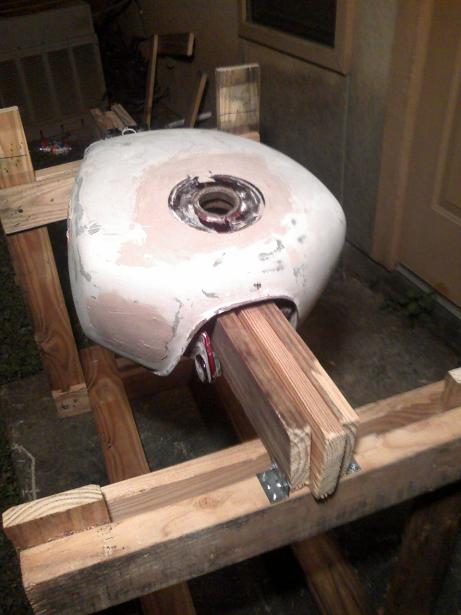
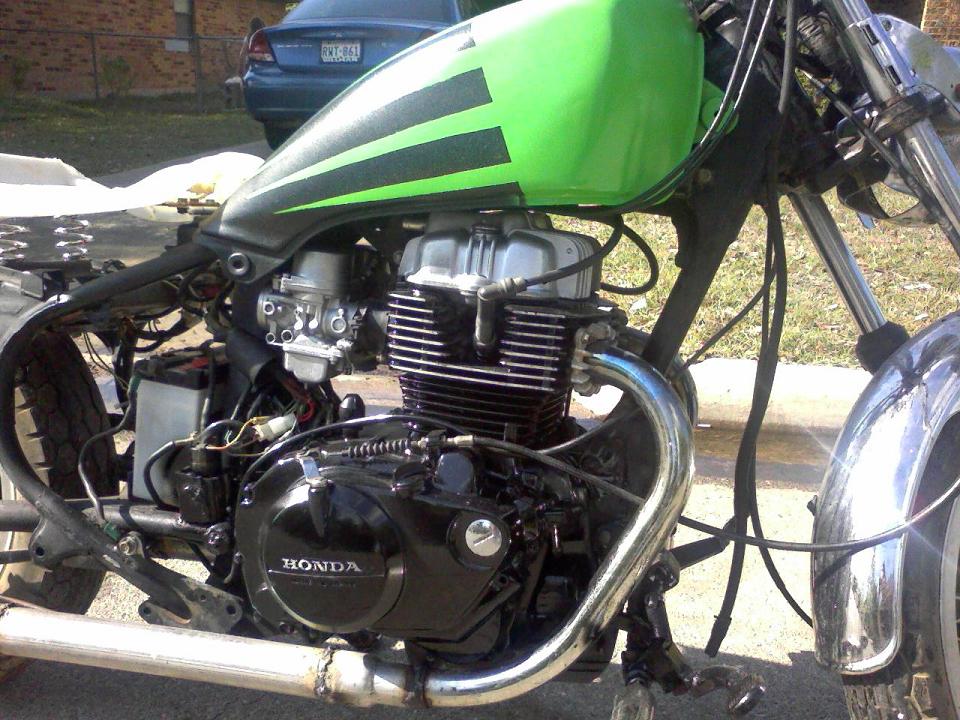
So, I hated the look of that stock tank. That rise up through the middle wasn't pretty at all. So, with a little (or a LOT) of fiberglass and some bondo, I got the shape I wanted. Here's a bad picture of the tank after all that added and some sanding done to it:
I've got some pictures of the tank stand I made out of some junk wood I found. I'll try to post those later on. Just like I asked my buddy to take pics of the work he's doing to the bike. He's supposidly got the tail light and tail light mounted, I haven't seen those. He's got the master cylinder from his 2004 YZF600 mounted on it, but we need a new cable as the ones from both of my 82's are full of junk and don't work. He's supposidly got some pics of all that I'll try to put them up when I get them.
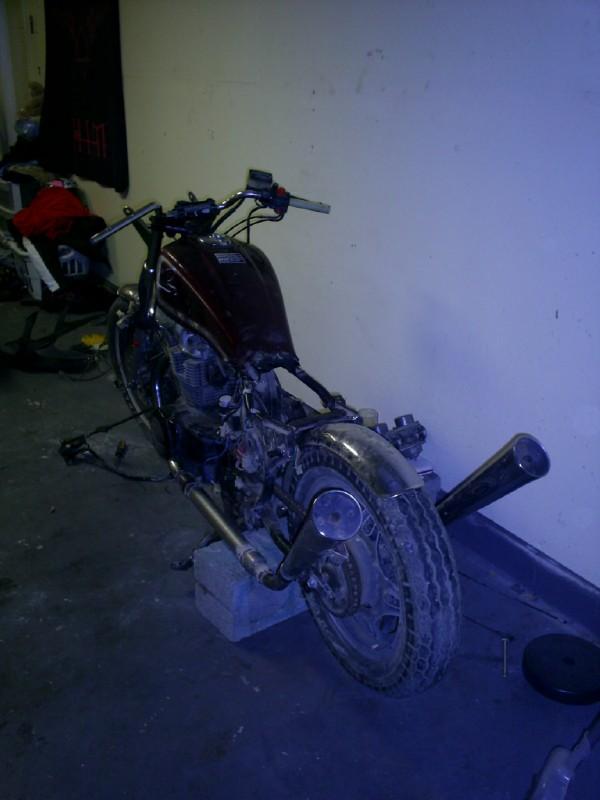
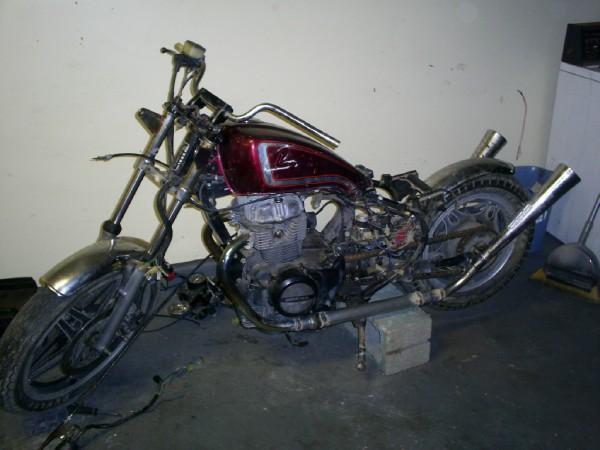
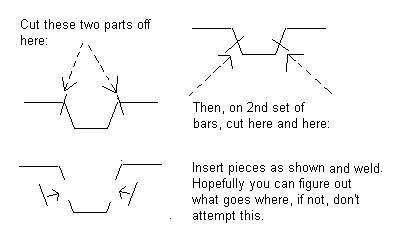
So, not liking to keep anything stock that we can "customize" for cheap or free, we decided to attack the handlebars. I wanted apehangers. So, we cut the handles off what we thought was the 2nd set of handlebars, and welded them into the rise of the original set of handlebars. Did all this on the garage floor. Turned out FLAT. Didn't realize flat bars could really affect the feel. Well, I've changed those since then, and I'll try to get more pics up of the new ones. Turns out that my buddy, in all his wisdom, when changing from the clip ons to the handlebars on his 2004 250cc Hyosung when he sold it, sold it with my spare set of handlebars. This turned out to be ok because we had his set :D. We knew this because the handles that that the controls are mounted to, are filled with lead or something and are weighted ends. The original bars for the 82 did not have weighted ends. They were completely hollow, which really helped with fabrication. This is how they turned out with an older pic of the tank than the one above:
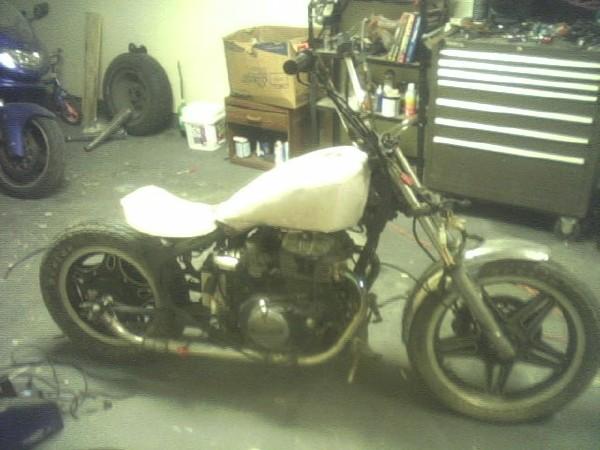
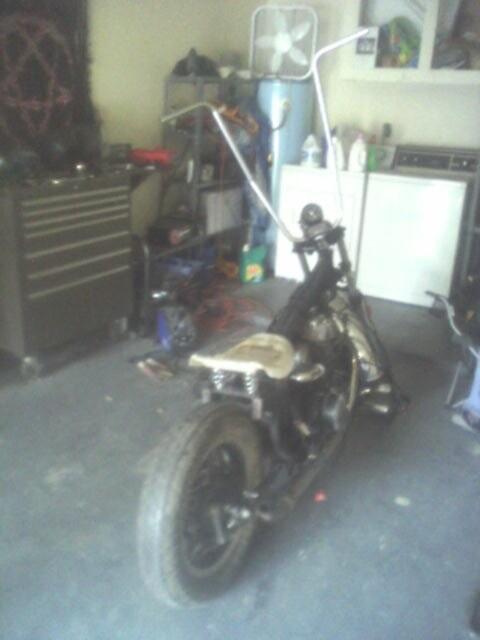
As you can see, we got the seat mounted too. When it came to those apes, we didn't like the feel of the FLAT bars. So, while at a bicycle shop looking for some BMX pegs we were going to use as footpegs, we came across a set of HUGE apes. They were being used as a display on the counter. They were 7/8" bars too. Asked the guy how much he wanted, and he only wanted $28! Yeah, I had to get those. Turned out we can't use them as they're highly illegal (pun intended), but they look really cool. Here's a pic of those apes and a better view of the seat mounting:
I've taken them homemade bars and cut them in the middle of the 2 nasty welds you can barely see in the pic above, clamped them to a concrete block (my buddy has no workbench at all, and therefore no vise). From there I turned them to the angle I wanted, attempted to clamp them in place to hold them so I could tack weld it. Using regular C-clamps on round bar is not the easiest task. Anyway, I got the angle just right and now they're friggin awesome. Thinking about grinding down those nasty welds I put on there and making them look nice. But, I wanted to have big nasty welds just to upset all the people who like nice looking bikes. This is never going to be pretty. Just different :D.
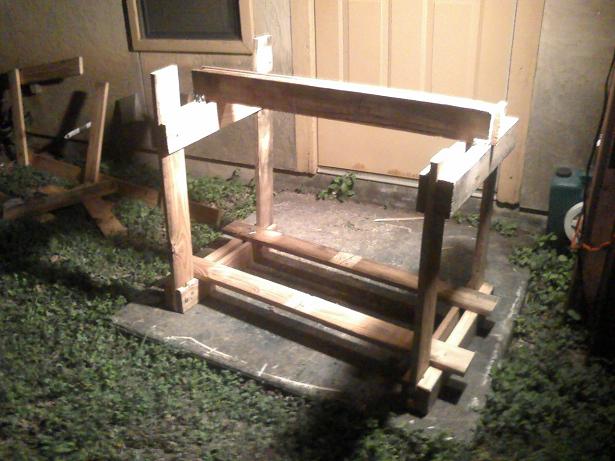
Finally uploaded some pics of the frame I made to hold the gas tank. My buddy and I were planning on building a workbench for his garage. We went walking around, and found some wood frames for something or other sitting by a dumpster. Perfect shape for a workbench top. Well, he changed his mind, and they became a gas tank stand. Here's the pics:


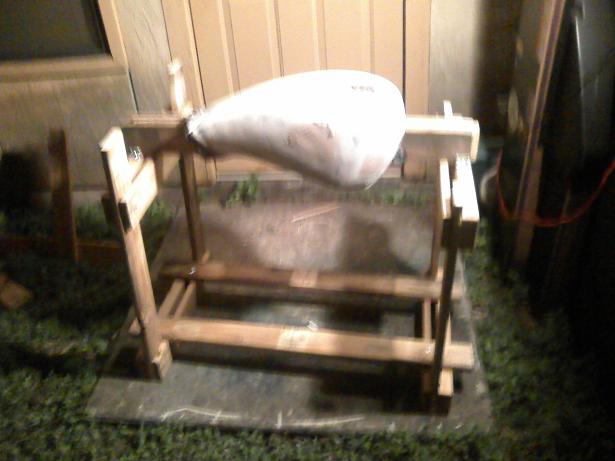
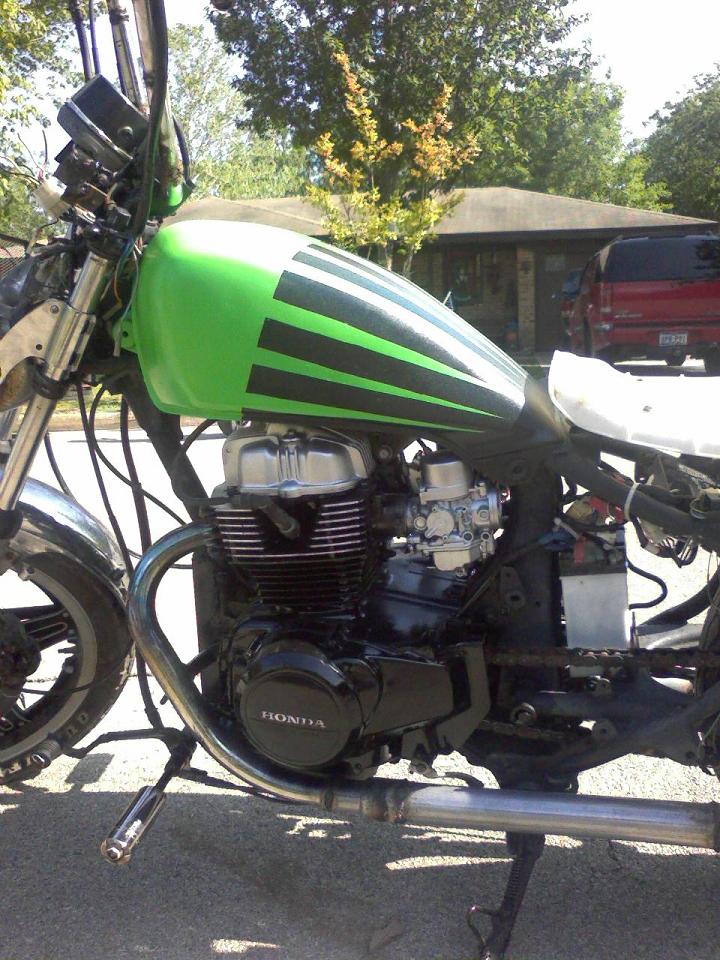
And here's the tank all fiberglassed and mostly bondo'd up and on the new stand:
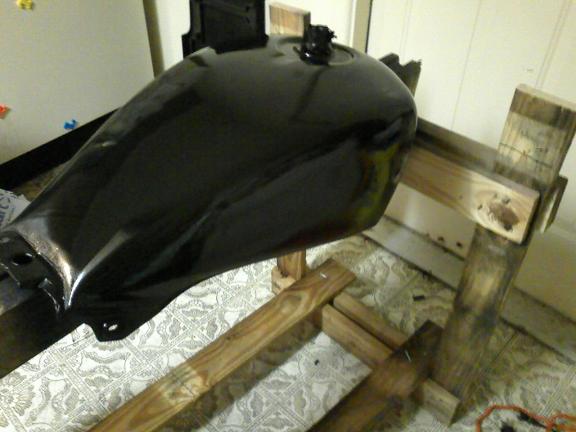
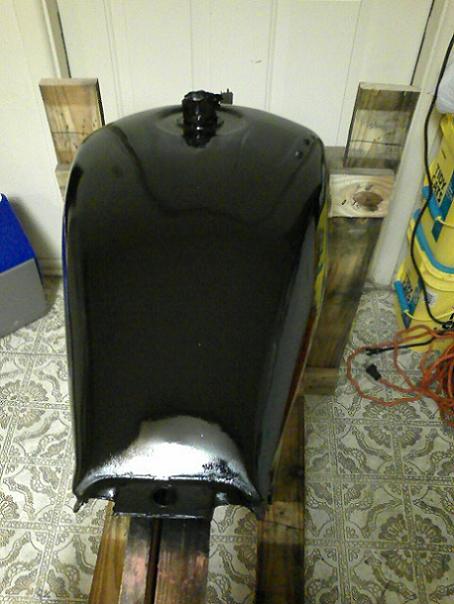
Here's the tank with couple/three coats of black on it:
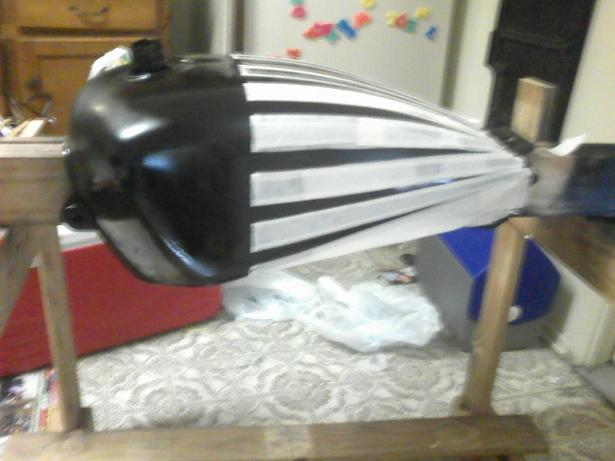
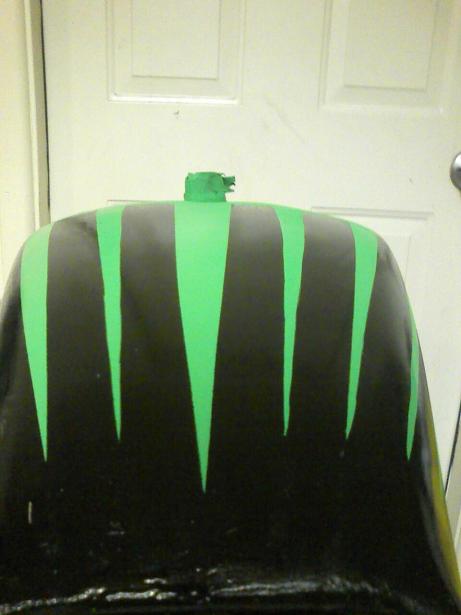
I got it halfway masked before I came to work today for the fluorescent green I'm going to paint over the black. I think it'll look cool and am excited to finish the masking tonight so I can paint it tomorrow before work. Here's the pic of it mostly masked:
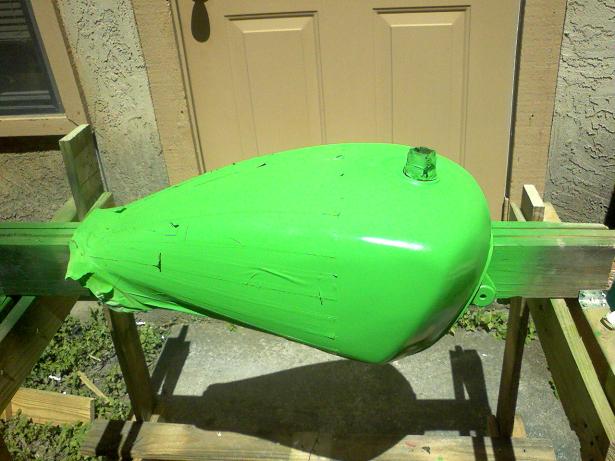
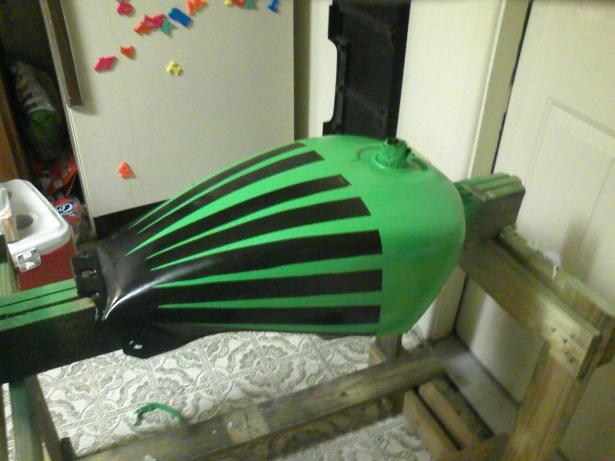
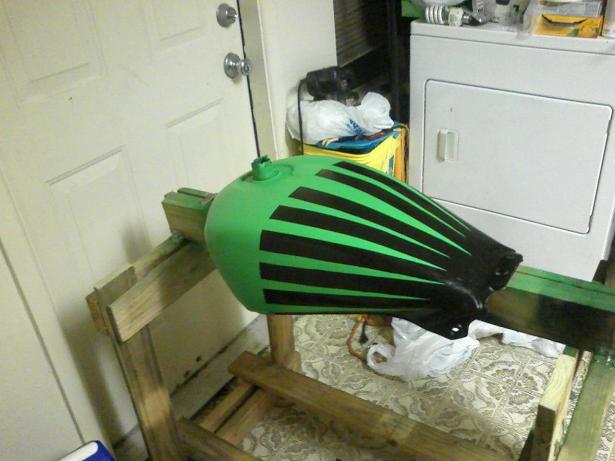
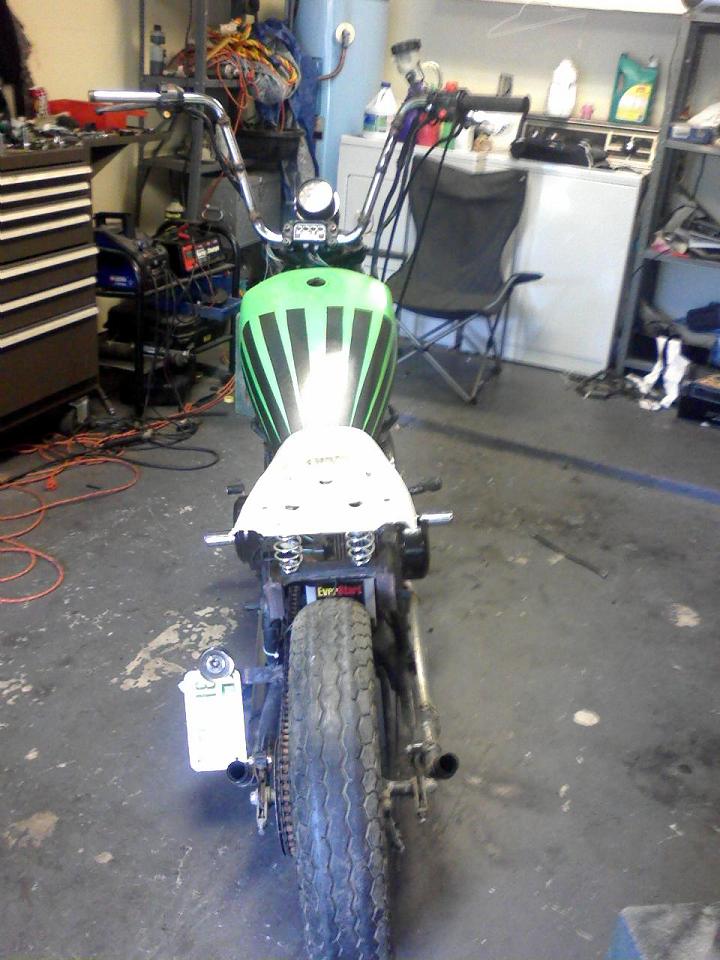
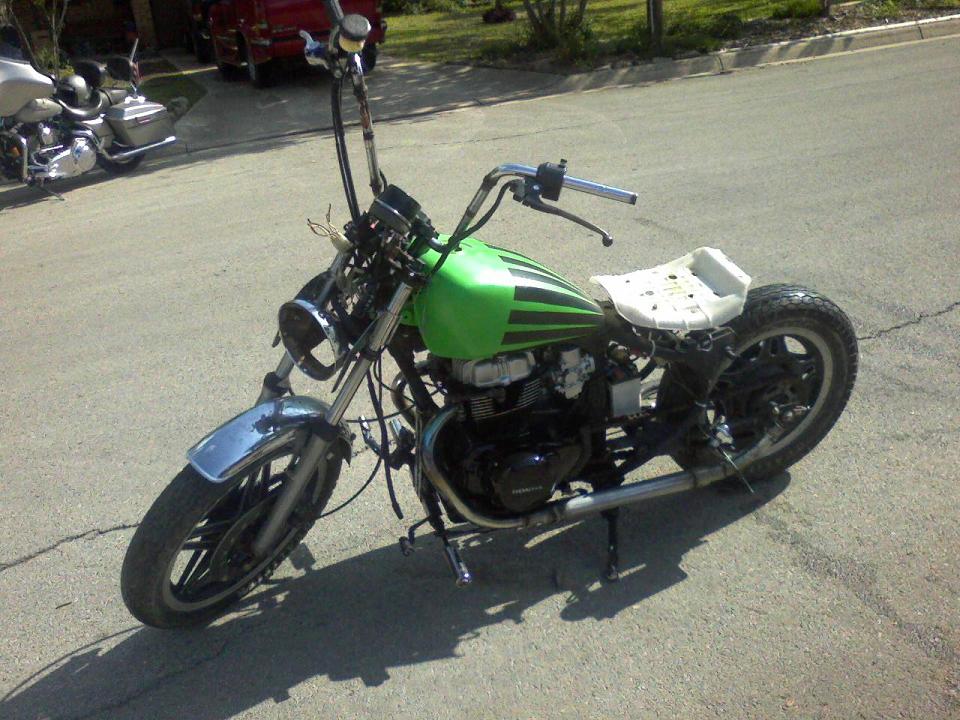
Well, I finished up the masking last night and painted the green today. I can't wait to get home and unmask it and get some more pics :D :D Here's what it looked like today after I painted it:

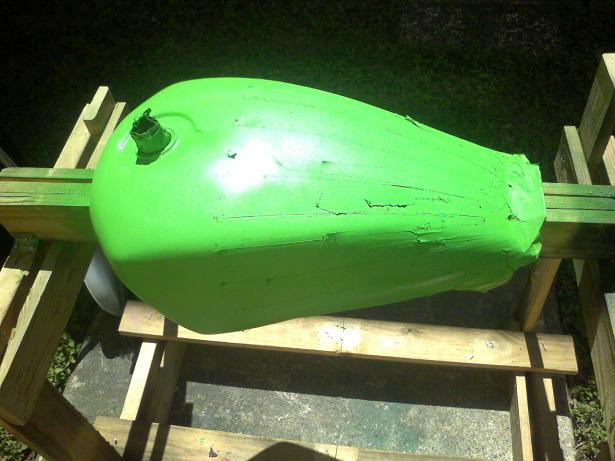
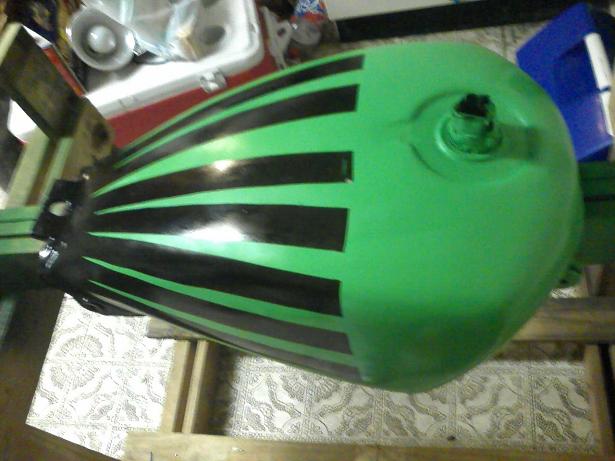
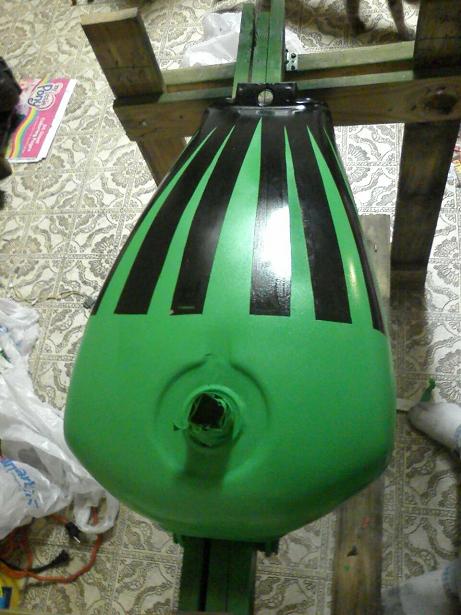
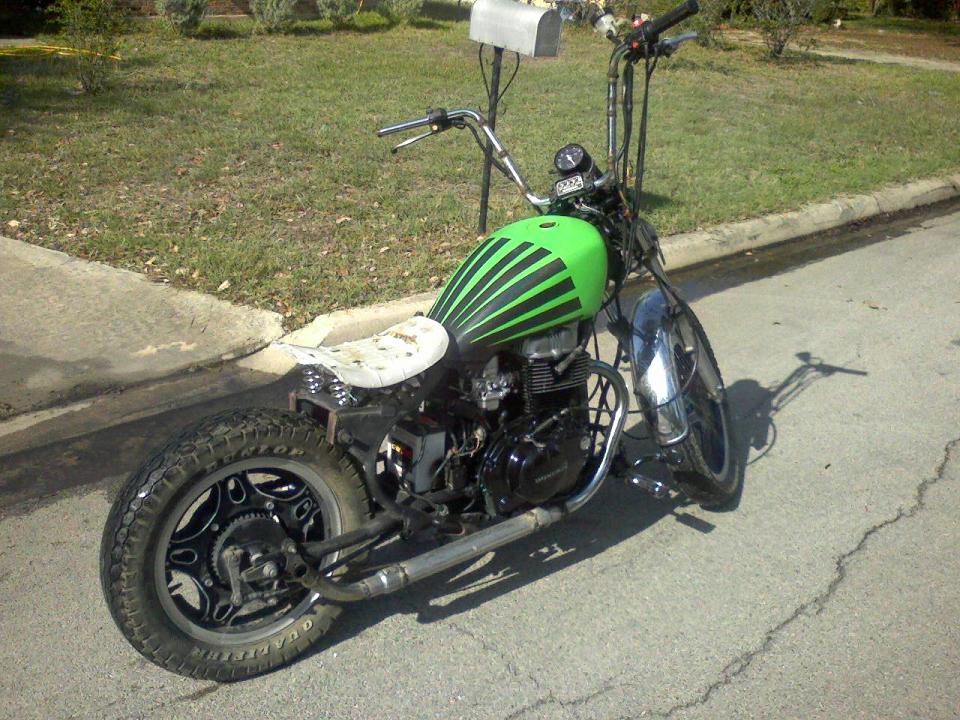
Ok, pulled the masking off, and screwed up a bit on one of the black parts near the green line. You can see it the 1st, 3rd and 4th pictures. Masking wasn't the best, and when trying to loosen a sticky piece with a razor blade, took off some paint. Ah well, it works for me. I'll probably try to mask it and repaint it tonight. I got some clear glitter paint I'm putting over top, and then hopefully some clearcoat this weekend. Anyway, here's the almost final results:


Diagrams that'd make a stick man jealous
How we made the handlebars
How we made the exhaust system